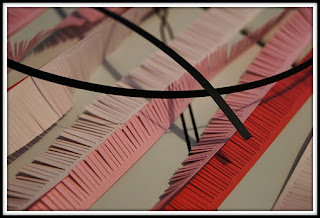
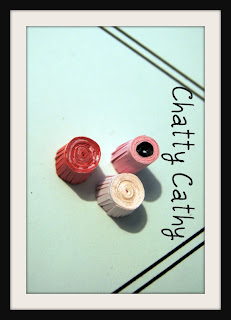
Okay, I mentioned before that I'm getting into quilling again. I was introduced to it in my childhood and have been taken with it's timeless elegance. One of the elements I used in my post last week on quilling the heart was a fringed flower. In the heart I used daisies. I thought how beautiful a wreath of just fringed flowers in different shades of pink and red would be! I set to work making tons of these flowers. I thought I'd share with you how they are made.
Now normally I buy quilling paper but the widths I wanted weren't available from the company. They come in widths up to 3/8". I bought scrapbooking paper. 12x12 sheets in various shades of pinks and red and then cut my own strips from 1/2"-1 1/2".
After cutting the strips I took my scissors and made the fringe. Cutting up to 1/8" from the edge of the paper.
I decided to use some 1/8" black strips as well for centers of some of the flowers.
flowers with a black center have the black paper glued to the end of the pink/red fringed piece.
start by rolling the flower with a slotted quilling tool. You can also just roll these between the fingers but the tool definitely makes this job easier.
 |
| start rolling center of flower |
 |
| Carefully keep rolling as you come to the fringe and place a drop of glue every so often just to help hold the tight roll. |
 |
| When done rolling the flower add drops of glue and smooth with finger to seal end. |
When base is dry simply fan out the fringed petals and you have yourself a beautiful little flower.
I couldn't resist taking some pretty shots of them. Hope you enjoy! When I assemble the wreath I'll give a tutorial on that as well.
Until next time Dear Reader,
Chatty Cathy


Wow. These are beautiful! I pinned you! Can hardly wait to see your wreath!
ReplyDeleteThanks for the wonderful photos. I was trying to explain to a friend how to make these and your pictures helped me explain.
ReplyDelete