

Halloween is fast approaching and I’m still busy making things! Our neighbors are doing the “boo” thing this year. It’s so much fun. You put together a “treat” bag, bucket or whatever and place goodies in it. You include a sign telling them they have been boo’ed and then give them a sign to hang in their window indicating they have been boo’ed.

They are then supposed to make 2 copies of the letter you gave them and the sign and pass along their own treats to 2 neighbors. It’s a fun tradition. This year we bought buckets and candy and I decided to include a handmade item for each bucket. I hope you like the items and enjoy the tutorial! I will be posting this one today and …
 | |
| This one tomorrow! |
6-4” squares of black cardstock
3-letters to spell out B O O
1 piece of cardstock or a copy of cardstock in a pattern you like
Glue gun
Martha Stewart scoring board (not necessary but much nicer)
Paper cutter or ruller and scissors
Here’s a close-up of the individual component we’ll be making:

First take your BOO letters and cut them in a circle. I type set mine on my GIMP program. It’s free through Google and so much fun! I inserted graphics from Graphics Fairy-I sooooo love her! You can acess thousands of free clip art here! It’s hands down my favorite site (no offense to others I follow!)
Visit her here:


Take your black squares and find a suitable circle (template, glass, small lid) and trace onto the square. If you are fancy enough to have a circle cutter…you go girl! You want a 3” circle when finished.

Hot glue or regular glue the BOO letters onto the black circles.
Now you will cut 1 ½” strips of your favorite scrap booking paper or cardstock. I had one I loved and it was only 6” squares. I threw 2 on the copier and just printed out a couple of copies. You will place the strip on your scoring board and score every inch. Flip over and score every half inch mark (in between your previous scoring).
Fold them back and forth and you will have a crinkle edging ready to edge your circle.


Glue the loose ends together so that you have a longer strip.

Now glue the two ends to form a circle.
Lay it flat on your board and glue to the back of the black circle.


Now lay an additional black circle on the back and glue. This neatens it up and secures the crinkle.

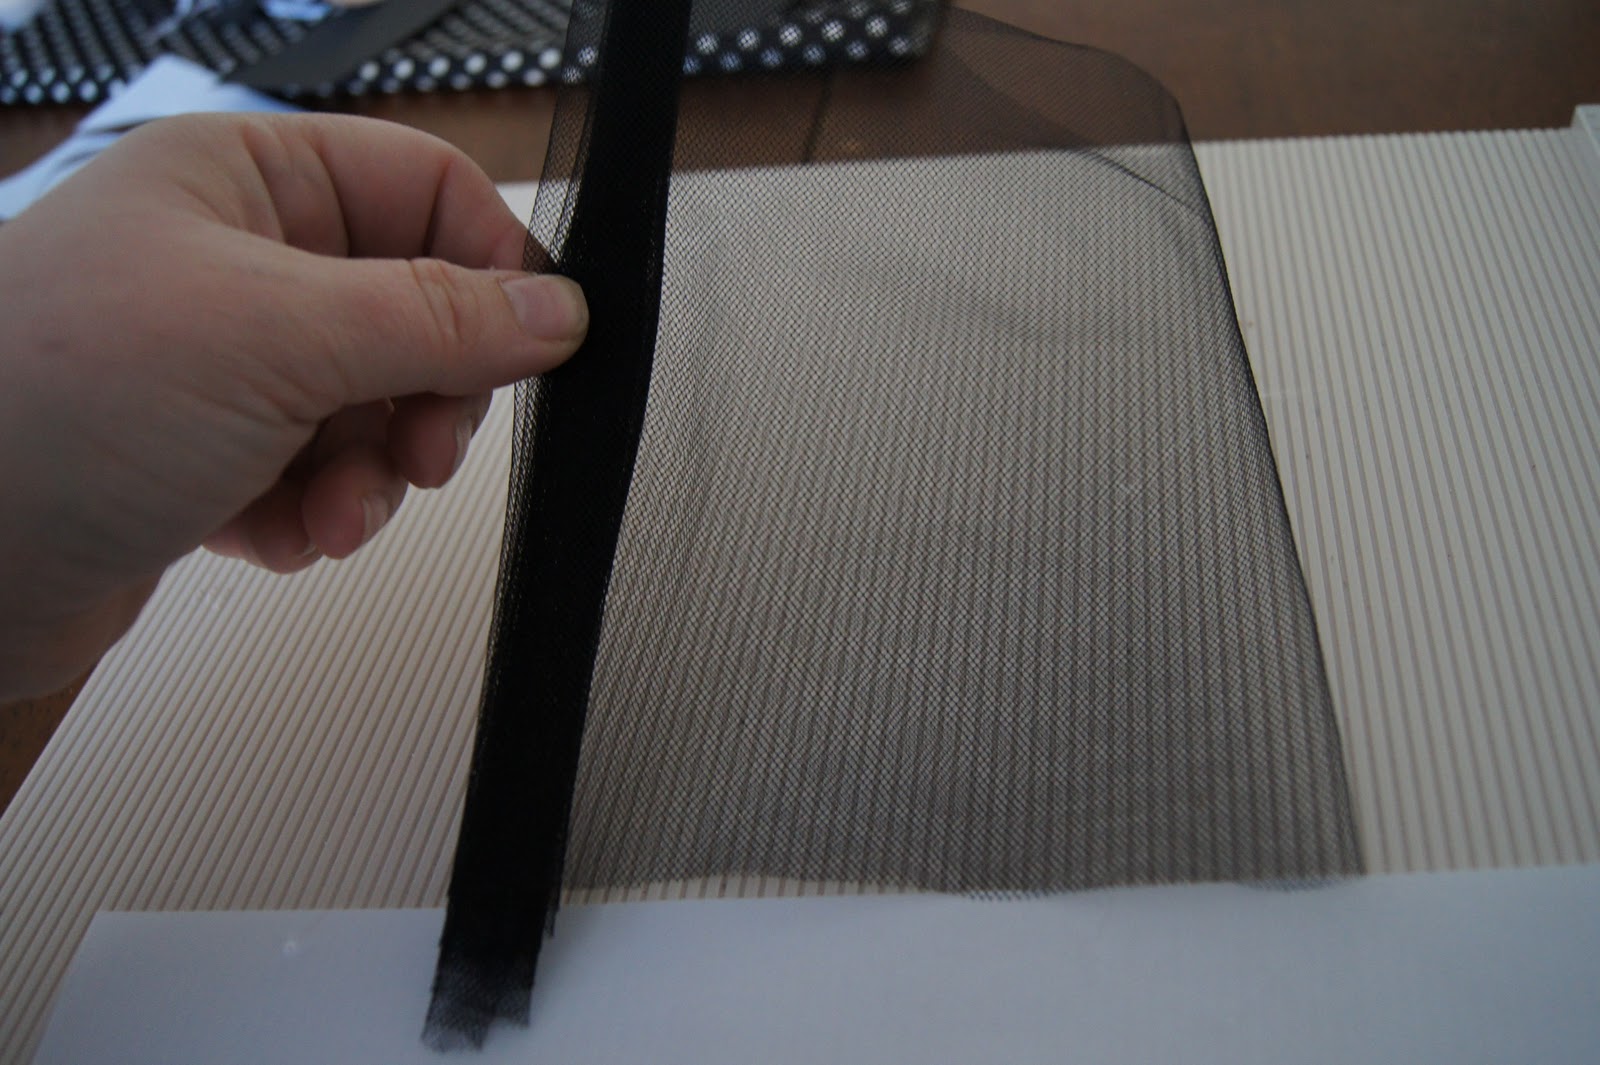
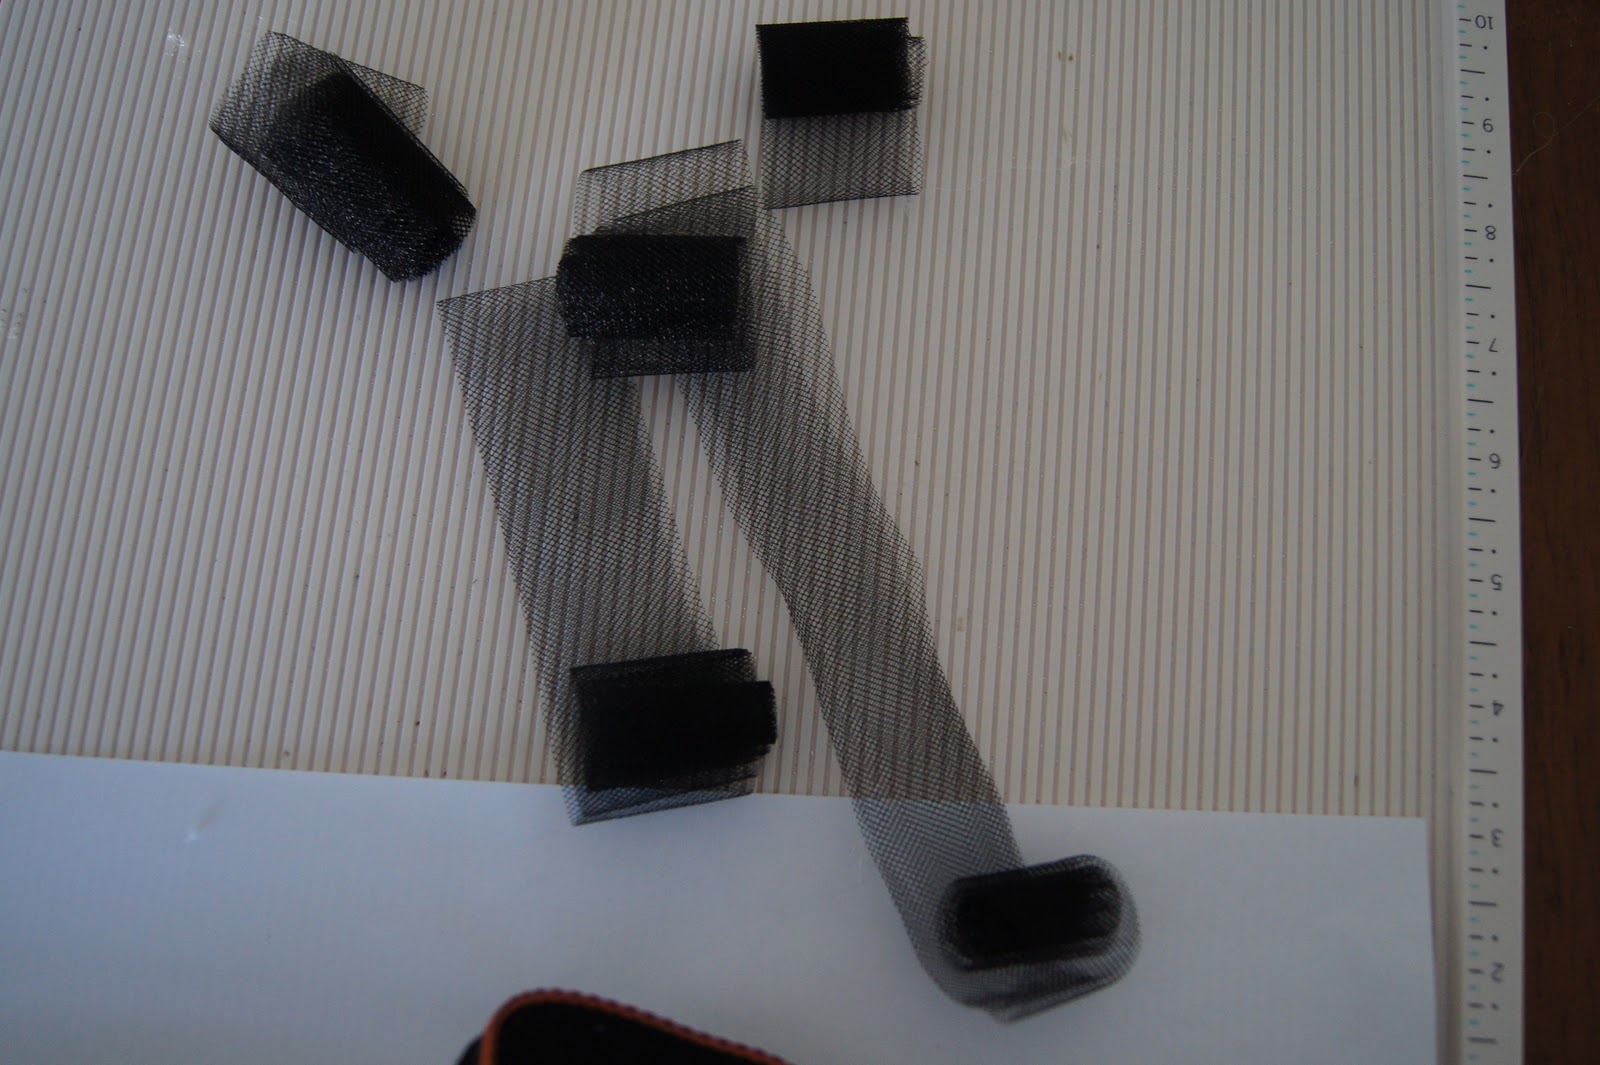
I then took scraps of netting that I cut in 6” lengths. I ended up adjusting mine to the length I felt looked nice for spacing on my mirror. You can make your’s shorter or longer. I glued them inside the folds of the crinkle to hide the ends.


Here is the finished project! So easy and you can make these from just scraps left from other projects. How cute would a birthday one be? Hmmm.
Well, Happy Halloween Crafting and until next time,
Chatty Cathy
No comments:
Post a Comment